Nothing in Basket!
All You Need to Know About Planting, Propagating, and Caring for Salvias
A complete guide to these drought-tolerant, nectar-rich summer champions.
- Plant: Late May to June
- Flowers: June to the first frosts (November)
- Soil: Poor, gravelly, sharply drained sand
- Loved by: Bumblebees, butterflies, and funnel-web spiders
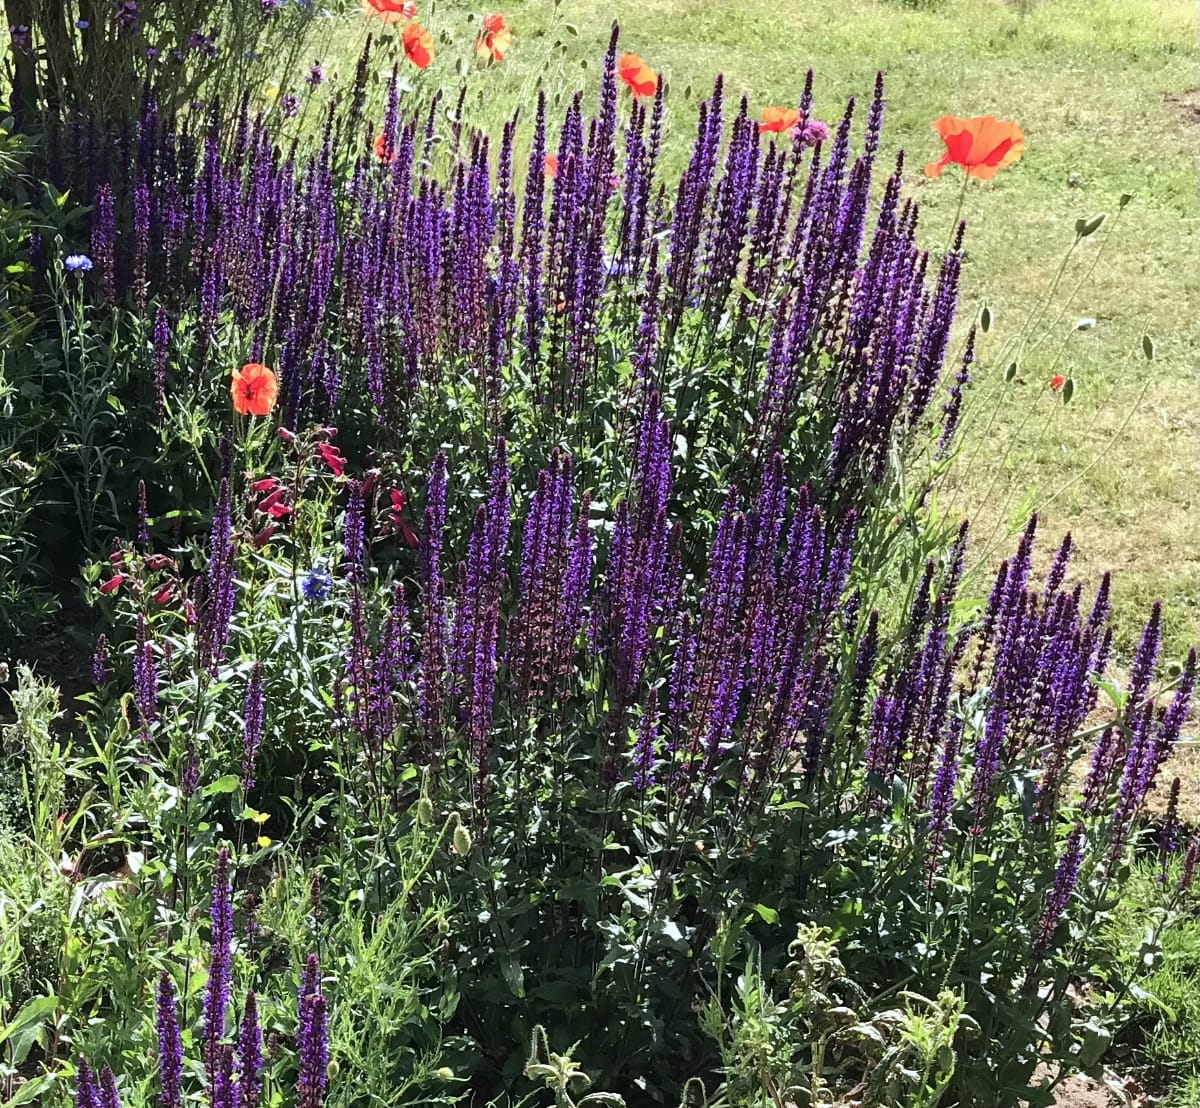
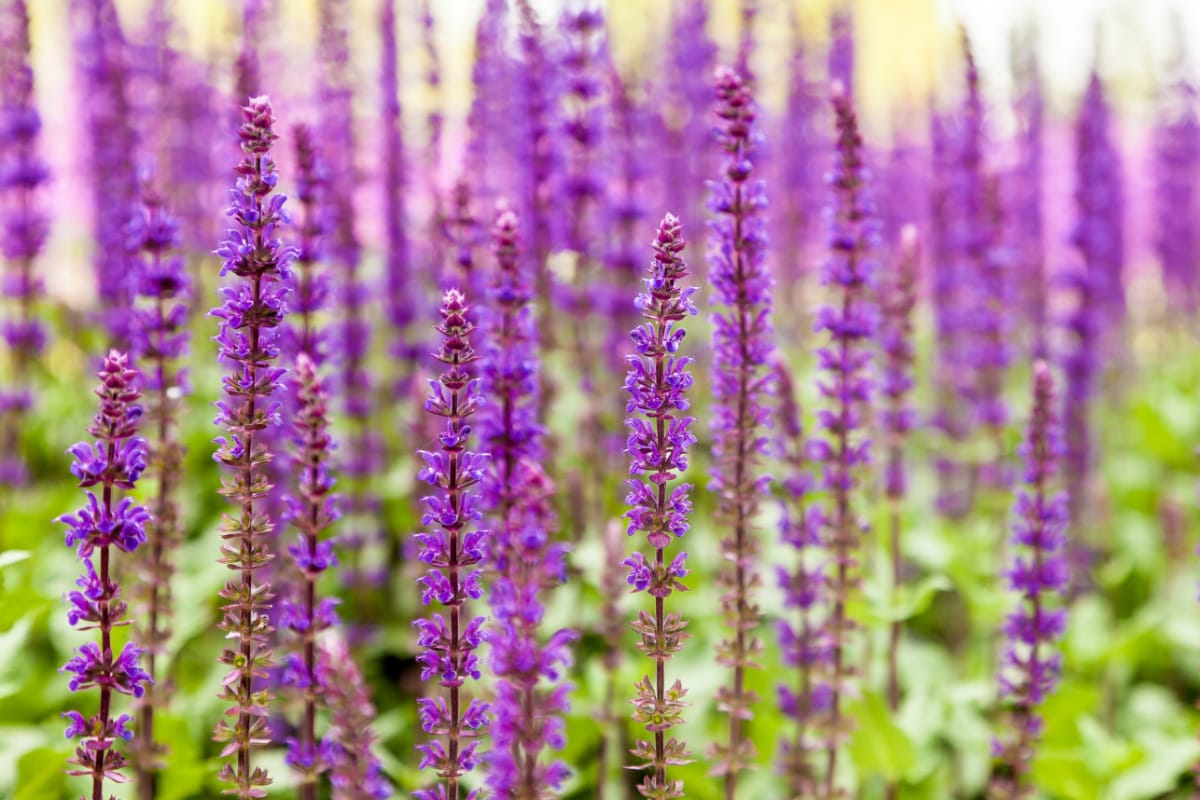
Salvia nemorosa 'Ostfriesland' (East Friesland) is a colossal hit with bees, butterflies, and a whole host of other pollinators. If you want to encourage a thriving ecosystem of wildlife into your garden, this is the first genus I would highly recommend.
Salvias come in a vast range of forms and colours, and their nectar-rich flowers act as a magnet for beneficial insects. They bloom for months on end, often from midsummer right up until the first autumn frosts, and many boast highly aromatic foliage. They look spectacular in almost any design scheme, have proved invaluable in my very dry Suffolk garden, and adapt beautifully to life in pots.
The spikes of tubular, lipped flowers range from pure whites and pastel pinks to deep purples, magenta, scarlet, and electric blues. The overall growth habit and hardiness vary by type:
- Annual Salvias: Grown as vibrant summer bedding that lasts for a single season (e.g., S. farinacea, S. horminum, and S. splendens).
- Herbaceous Perennial Salvias: Completely hardy perennials that return year after year—these are my absolute favourites for our borders (e.g., S. nemorosa and S. sylvestris).
- Tender Perennials: Return yearly but lack total winter hardiness, meaning they require protection in cold regions (e.g., S. greggii).
- Shrubby Salvias: Sub-shrubs with woody, permanent stems. Most are reasonably hardy and remain evergreen during mild winters (e.g., S. jamensis and S. microphylla).
Soil and Sunlight Requirements
All salvias thrive in a baking, sunny spot. They actively demand well-drained soil and absolutely adore stony, sandy, or nutrient-poor ground.
Indeed, they are incredibly tenacious in my sandy soil, I find them popping up all over the garden. If I move an old specimen, any tiny fragment of root left behind in the earth will happily push up a brand-new plant!
If you are gardening on heavy clay, you must incorporate plenty of organic matter and horticultural grit before planting. Salvias will not tolerate winter wet; they are highly likely to rot and die if left sitting in cold, waterlogged soil.
How to Plant Salvias
The ideal time to plant salvias is from late May to early June, once the final threat of spring frost has passed.
A Golden Rule: If you purchase a new salvia in autumn, do not plant it directly into cold, wet soil. Keep it in its pot in a frost-free greenhouse or cold frame over winter, then plant it out the following spring to ensure its survival.
- Prepare the plant: Gently pinch back the growing tips before planting to encourage a bushier, multi-stemmed habit.
- Boost drainage: On heavier soils, dig a generous amount of horticultural grit into the bottom of the planting hole.
- Dig the hole: Create a hole identical in size and depth to the nursery pot.
- Plant and firm: Settle the root ball into the ground, backfill with your garden soil, firm down gently with your hands, and water thoroughly.
If growing in containers, use a peat-free, multi-purpose compost mixed with a handful of horticultural sand or grit to maximize drainage. Ensure your pots have generous drainage holes at the base.
The Great Pruning Experiment: Deadheading vs. Cutting to the Base
Salvias planted directly in the ground will generally get all the moisture they need from natural rainfall. Once established, they are superbly drought-tolerant; mine survived the historic 43°C heatwaves in Suffolk, even if they looked a little sorry for themselves at the peak of the dry spell.
However, midsummer care is where you can make a massive difference to their performance. I recently conducted a side-by-side experiment to test two common bits of gardening advice: cutting the entire plant down to the base in July versus systematic deadheading.
Here is what I discovered:
- Cutting to the Base: Leaves you with empty gaps in your border for a few weeks. While you eventually get fresh, bushy green growth and some flowers by September, there isn't quite enough time before autumn for a massive display. Result: Strips away local insect habitats and food sources during the peak of summer.
- Deadheading: By continuously snipping off faded flower spikes, the plant keeps its lush green structure. It encourages the stems to put out abundant side shoots, creating a non-stop, rolling display of fresh blooms. Result: Preserves vital cover. Funnel-web spiders and other beneficial garden predators love taking up residence in the structure of the stems to hunt pests.
Based on these results, I am sticking firmly to deadheading in the future. It keeps the garden looking full, maximises the flowering window, and keeps our precious garden predators protected.
Protecting Salvias in Winter
To safeguard your favourite tender varieties against severe winter losses, always take a few backup cuttings in late summer.
In milder regions of the UK, you can protect tender salvias by applying a generous 10cm layer of well-rotted compost or dry mulch over the crown of the plant in autumn to insulate it from hard frosts. In cold, northern gardens, lift tender varieties as you would dahlias, pot them up, and overwinter them indoors.
Crucial Spring Tip: Always wait until late spring (April or May) to cut your salvias back. The old, dried foliage from the previous year provides a vital, natural barrier that shields the crown from winter frosts. Once you see bright new growth pushing through at the base in spring, cut the old woody stems right down to just above these emerging green shoots.
How to Take Salvia Cuttings
Taking semi-ripe cuttings in August or September is an exceptionally easy and rewarding way to create free plants.
Traditional gardening books advise placing your freshly cut stems directly into a plastic bag to stop them from wilting before potting. I prefer a more natural, low-waste approach: I carry a small pot of clean water around the garden with me and submerge the cuttings directly into it as I snip. I then use this same water to water them in once potted.
- Take the cutting: Snip healthy, non-flowering shoots that are roughly 8cm long.
- Prep the stem: Strip away the lower leaves and trim cleanly just below a leaf joint (node) using sharp scissors.
- Pot up: Insert the stems around the edge of a pot filled with pre-watered cutting compost.
- Maintain humidity: While books recommend sealing the pot in a plastic bag, I prefer to skip the plastic and simply mist my cuttings with a water spray whenever I walk past them. Both methods work, so try both to see which suits your routine!
- Overwinter: Place the pot in a sheltered, frost-free spot in the garden or cold frame. I avoid over-protecting them in heated spaces, as I believe allowing young plants to experience natural environmental shifts helps them build the resilience needed to survive our changing climate.
- Pot on: After about three weeks, your cuttings will have developed a robust root system and will be ready to pot on individually.
Salvias I Highly Recommend for Light Soils
- Salvia 'Hot Lips' (S. jamensis): A striking, woody sub-shrub featuring eye-catching bi-coloured red and white flowers. It is incredibly drought-tolerant and reliably frost-hardy. I added this variety to my garden after watching hordes of bees swarming over it in the Bury St Edmunds Abbey Gardens.
- Salvia nemorosa 'Ostfriesland' (East Friesland): An exceptionally hardy herbaceous perennial that is a true magnet for pollinators. Producing dense, upright spikes of rich violet-purple flowers from June to September, it reaches a height of 45cm and looks spectacular woven into a wild prairie scheme or paired with pink penstemons.
About the Author & Content Disclaimer
The advice in this post is based on 10+ years of hands-on experience testing seeds in our sandy Suffolk Garden.
While I love sharing my journey and the things I discover, please understand that I am not a certified professional in gardening or wildlife. I ground my content by deep-diving into reliable books and expert resources, but please use my advice only as a guide for your specific garden.
I use and sell the same UK-sourced, wildlife-approved seeds in my own garden that you see throughout this site. Shop our complete seed range here.
If you notice any inaccuracies or have additional insights to share, please feel free to contact me via this website's contact forms.